Building Electron.js on Windows using the Visual Studio Build Tools
TL;DR: This article describes how to build Electron.js on Windows using only the Visual Studio Build Tools offering
The Visual Studio Build Tools is a subset of the Visual Studio package introduced in 2016 that ships only with the command-line tools instead of the entire graphical IDE. You might find it useful if you are not primarily using the Visual Studio editor, if you are running builds on a head-less environment (such as Continuous Integration), or if you are concerned with the large amount of space occupied by the entire Visual Studio distribution.
For reference, my entire Visual Studio 2019 Community installation weights 7.2 GB, while my Visual Studio Build Tools 2019 installation weights 4.6 GB.
The Chromium Windows Visual Studio documentation only provides installation instructions for the complete Visual Studio package on the default install location in an interactive way. However, this post will show you how to install the Visual Studio Build Tools to a scoped location without requiring any user interaction, and configure your Electron.js build to use it instead.
Downloading the installer
First of all, you need to obtain the Visual Studio Build Tools installer from Microsoft. At the time of this writing, you can fetch the latest installer from the “All Downloads” section in the Visual Studio Downloads page. Windows 10 ships with cURL nowadays, so we can download the installer from a Windows command-line prompt like this:
curl -o "vs_installer.exe" ^
  "https://download.visualstudio.microsoft.com/download/pr/2d4f424c-910d-4198-80de-aa829c85ae6a/8a2d8fc2b4e671de2dd45554558c0ad6949bd2fdbfefc284e6e147cf90f4b42d/vs_BuildTools.exe"
Creating an installation layout
Instead of running the installation on the host system directly, we will handle downloading the Visual Studio packages and then applying them as two different steps. This approach has the benefit of allowing you to cache the package downloads to speed up future installations if needed, which is particularly handy if you are setting up Visual Studio on a Continuous Integration environment.
We will download the Visual Studio packages required by
Chromium and Electron.js in a non-interactive mode by executing
the Visual Studio Build Tools installer in layout mode,
adding the right packages, and passing the --quiet
and --wait options. You can download the layout
into a directory of your choice. We will store it at
C:\dev\vs-layout:
vs_installer.exe ^
--layout "C:\dev\vs-layout" ^
--add Microsoft.VisualStudio.Workload.VCTools ^
--add Microsoft.VisualStudio.Component.VC.ATLMFC ^
--add Microsoft.VisualStudio.Component.VC.CLI.Support ^
--add Microsoft.VisualStudio.Component.Windows10SDK.19041 ^
--quiet ^
--wait ^
--lang en-US ^
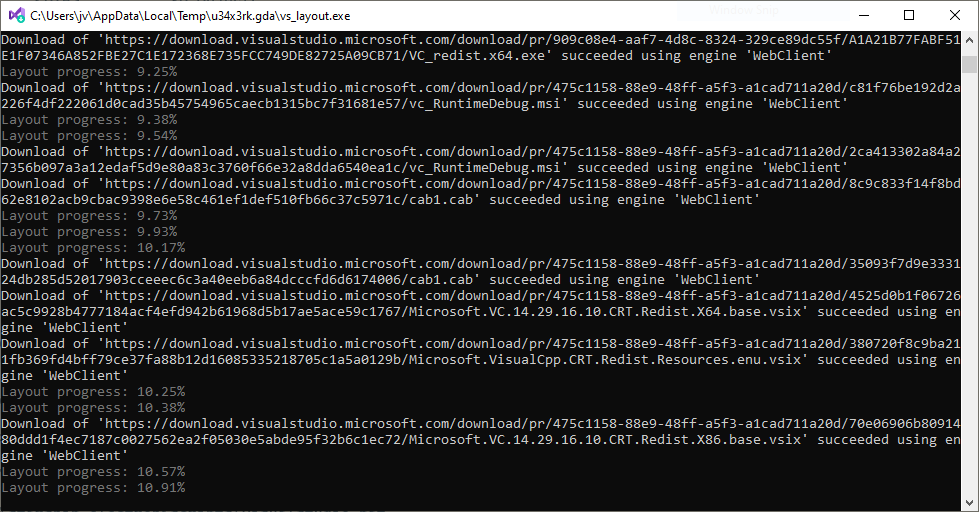
--includeRecommendedThis is how the download process looks like:
The resulting directory weights 2.4 GB on my Windows 10 Pro 20H2 system running Visual Studio Build Tools 2019.
Applying the installation layout
The layout directory will include the installer executable
you used to create the layout on the first place at the top
level. The installer takes an --installPath that
you can use to install Visual Studio Build Tools to a custom
scoped location. Additionally, you can pass a
--nickname option to associate this particular
installation with a human-readable name of up to 10 characters.
We will call it vsbuild19 and we will install it to
C:\dev\vs:
C:\dev\vs-layout\vs_installer.exe ^
--quiet ^
--norestart ^
--noweb ^
--installPath "C:\dev\vs" ^
--noUpdateInstaller ^
--nickname "vsbuild19" ^
--nocache ^
--wait ^
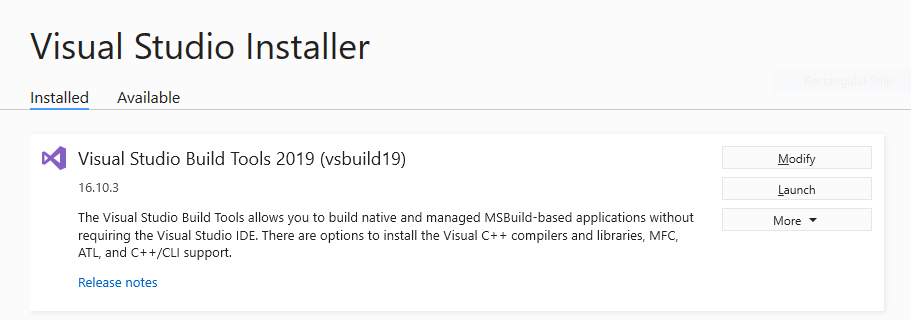
--includeRecommendedRunning the Visual Studio installer in GUI mode will present a new entry matching the installation nickname:
Preparing the Windows 10 SDK
Chromium requires the presence of the Windows 10 SDK along with the Debugging Tools feature enabled: 6db4113. Therefore, we will install the Windows 10 SDK with all the features enabled out of the layout directory we created previously:
start /wait "Windows SDK Setup" ^
  "C:\dev\vs-layout\Win10SDK_10.0.19041,version=10.0.19041.1\winsdksetup.exe" ^
  /features + /quiet /norestart /ceip off
The winsdksetup.exe installer does not accept a
--wait argument as the Visual Studio installer did,
so we have to wrap it with start /wait in order to
wait for the installation process to complete.
I could not find a way to not install the Windows 10 SDK to the default installation directory at
C:\Program Files (x86)\Windows Kitsas the installer refuses to install Windows 10 SDK features to any other location despite the availability of an--installPathargument. If you know how to perform scoped Windows 10 SDK installations, please let me know!
Setting up Chromium to use the new installation
Finally, once the installation is completed, you can
configure Chromium’s build system to use your custom Visual
Studio Build Tools installation by defining the
vs2019_install environment variable to the
installation path:
setx vs2019_install C:\dev\vsThis environment variable is read by src/build/vs_toolchain.py
to prevent Chromium from automatically trying to find an
existing Visual Studio installation in the standard installation
directories.
At this point, you should be able to run GN and Ninja as usual!